I have a 1 hour ride to and from work each day, this gives me a bit of time to ponder ideas and create stuff. Cogito ergo sum. Great ideas, stupid ideas and off key singing are the specialties on the commute, though on one fine day I pondered the issue of how to carry our pet monkey on our next adventure. I don't recall what I was singing though.
Our pet monkey is getting bigger, she's grown from the Weeride, to the LOCT, as well as a Weehoo iGo recumbent tagalong. We've had a halfwheeler tagalong bike in the shed for a couple of years, used it a few times, but the experience for the monkey was always ho-hum compared to riding up front with daddy. We've toured a fair bit with her on the front of the tandem in her Weeride, lost count of the full daytrips on and offroad with her on the Baby AC bike, so she's familiar with big days in the saddle with daddy.
With an upcoming trip we need more storage for 3, and the soft sands to cover will be better ridden with an additional tyre. The brief was I needed to carry the monkey, a handlebar bag, pannier rack for the Ortleibs and a top bag. Too easy.
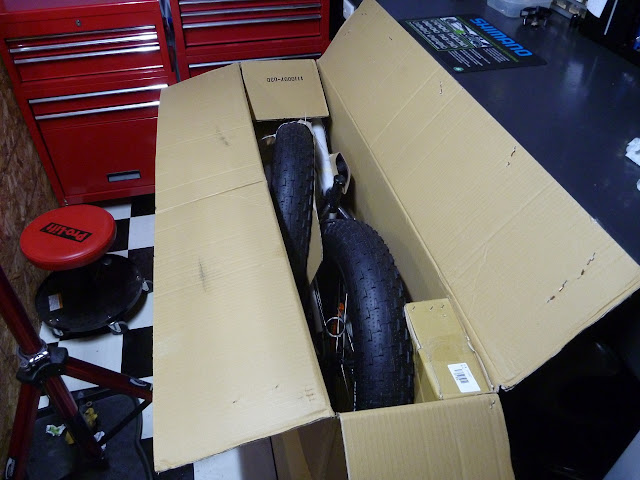
Lets start with the basic chassis, standard Giant Halfwheeler tagalong.
These normally come with a 20" wheel, I researched the possiblity of changing to a trials wheel and tyre combo to get more width, but with this I wouldn't achieve a longer footprint which is what you really need in sand.
With sand, you are constantly climbing a 'wave' of sand that rolls in front of the tyre, the longer and narrower the footprint, the better float and less resistance of the 'wave'. Widen the tread and the 'wave' you are pushing gets wider too, adding resistance. Buuuut, the increased surface area may provide additional float - depends on the weight on the tyre. Tyre pressures, sand temperature, grain size and moisture content come into play too.
So I needed to increase the tyre width as well as the length of the footprint, so the only way to do that was upsize the wheel. Several things needed to happen, the wheelbase of the taglong needed to grow, and I need to source a fatter wheel combo. Well, duh.
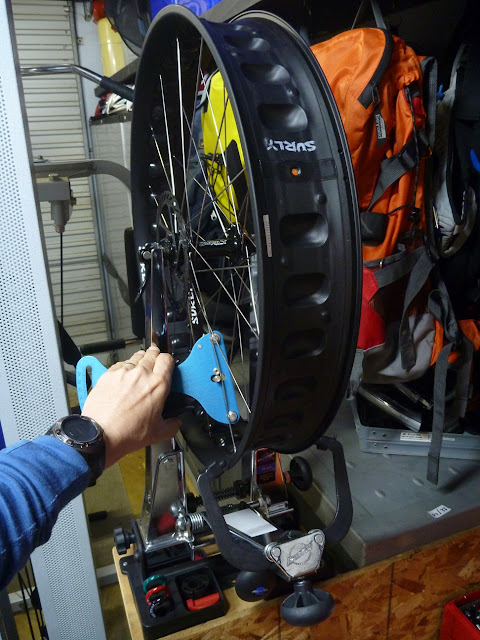
Velocity make a 44mm wide rim called the Snowcat, I bought the last new one they had - it was a front - a quick dig in my parts box netted me the 32H Shimano rear hub.
Swapped over the hub using the same spokes, hub flanges identical, spoke length perfect as you can see from the pic - nipple threads fully engaged with spoke head.
Any high points need to be cleaned up with the Dremel. Thank you, Albert J. Dremel.
Velocity had no rim strips, so made up a rim strip from the clear polyester adhesive tape I use as frame protection. 100mm wide, fold in half, trim and apply.
Tyre of choice was a Maxxis Hookworm 2.5. These tyres are awesome, had them on the Baby AC (the original monkey carrying bike) for many years with excellent ride and wear characteristics. Look phat and perform well in sand.
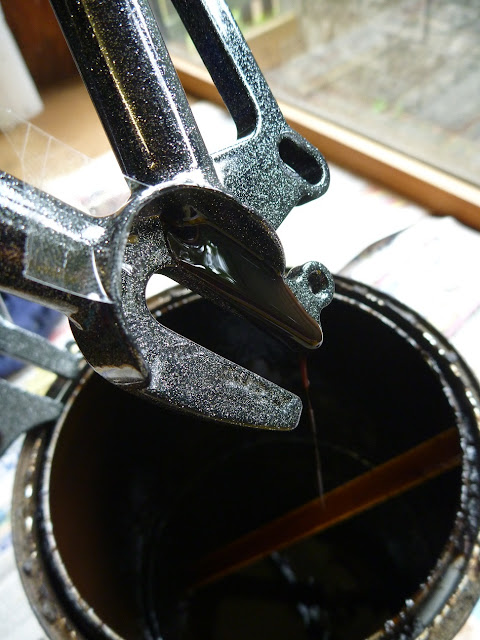
To fit this into the Halfwheeler frame, I used a chainstay assembly I've had kicking around in the spares dept for years. Bought on ebay for a couple of bucks, it's the chainstay for a Giant AC. I researched a few other options - Xtracycle classic (didn't have the tyre clearance and unable to integrate into a 20" rear triangle) and even a Puglsey fork (no derailleur hanger, odd angle for axle entry and unsure of strength of fork blade)
I wrapped it and the Halfwheeler seatstays with some old tubes to protect, isolate and to provide a firm and grippy interface.
Mock up of the wheel in place with some rack mounting brackets, allowed me to dial in the position of the wheel for clearance and correct alignment.
Install the AC chainstay. Mounting it below the Halfwheeler chainstays would have been more ideal, but the dropouts and derailleur hanger didn't allow for an optimum fit, plus chain rub on the chainstay (I wasn't going to cut or mutilate the Halfwheeler at this point). Mounting above the seatstays gives me a good chainline, tyre clearance, solid mounting and raises the axle centre about 30mm.
Alloy angle offcuts provide more surface area and using screwband hose clamps for a firm, reliable and adjustable bond. Thank you Lumley Robinson.
* After this pic was taken, 4 more hose clamps were added to provide redundancy.
Drivetrain bits - I'm a zealous recycler/repurposer, so comes as no surprise I have this stuff lying around. The Halfwheeler runs a 7spd twisty, I'm going to run a top normal rear mech to make it easier for the pet monkey to shift. As with the other sand bikes, I'll be running the super dry Ride Mechanic Bike Milk chain lube. Thank you, Owen and Cheryl.
The AC chainstay assembly had bolt mounts for the seatstay suspension pivots (the Giant AC was a 6" dually) and would make excellent mounts for the rack, but needed to step them down to suit an M5 mounting bolt. A mounting nut for road front brakes was the perfect diameter, a quick job with the hacksaw docked them to length.
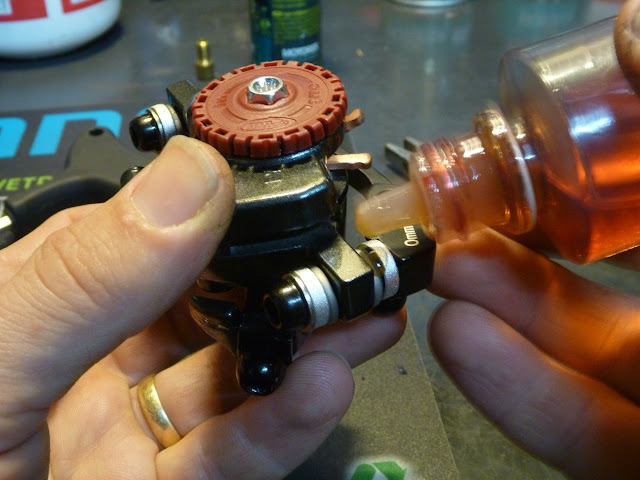
The nuts were steel, so liberal amounts of grease packed in during assembly. Rack lower legs mounted, stainless hardware.
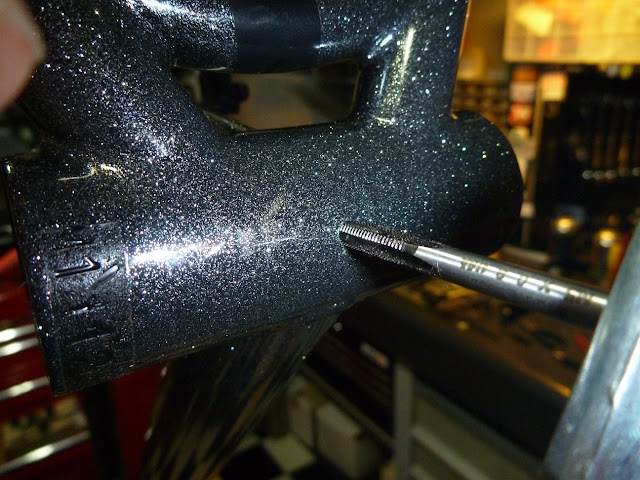
The upper rack mounts had a similar serendipitous outcome, there was a breather hole for the stay bridge, perfect diameter to tap an M6 thread.
Added a small extension bracket to get the rack sitting level. The drive side of the stay was angled to allow clearance for the crankset, a few CPS washers (Avid techy name for the concave/convex washers used under their brake calipers) corrected the angle and allowed firm tension on the bolt and extension bracket.
Rack of choice was another Topeak Super Tourist DX, have these on quite a few bikes. Separate bar for pannier bags, as well as the MTX slide for top bag attachment. Will be using the Ortleib bikepackers for this trip and a dry MTX top bag instead of the drybag pictured. Big squishy saddle (with springs too) just not enough room yet for a suspension seatpost.
The Halfwheeler came with a cutesy fender. Inadequate. The pet monkey was directly in the line of fire from whatever the back wheel throws up, so the fender needed to be mega-upsized.
Back when I worked in industrial automation, we had these sample signs from a supplier. I had a few lying about in the workshop storeroom, perfect size and made from 2mm polyethylene. Printed one side, white the other.
A quick measure up, drill a few mounting holes and routed out two slots with the other Dremel for the velcro strap. Thanks again, Al.
Only issue I had with the material was that it was very white, and would reflect a lot of glare into the monkeys eyes. I had this self adhesive window tinting mesh in my workshop store, perfect.

Dude, is that carbon?
Because of the frame pivot to allow folding, a quick velcro attachment was necessary, the plastic is pretty flexible and will roll well when folding the frame to put in the truck.
Handlebar bag for monkey chow, rainjacket, flowers and shells she collects by the shea shore.
Boat leaves on saturday morning. We had a quick test ride down the street to the big sandpit in the park, I quizzed her to see if she liked the bike "I love it, thank you daddy" she replied whilst enthusiastically nodding her head.
I felt like an inventor.


